During my move, the microSD card that was driving my LED matrix to show Spotify covers broke. As I'm stupid and had nothing backed up or in source control, I'm now tasked with recreating it from scratch. I'll be using Docker sitting on top of a Ubuntu 22.04 server edition running on a Raspberry Pi 3B+. I will be doing it all headless as I find it to be a much more streamlined approach than getting a HDMI cable, Bluetooth keyboard, and other accessories all in one place.
Preparation
First, grab a microSD card and get the Ubuntu image from here. Extract it using xz and finally use a dd command to flash it onto the card.
Be careful! Make sure you specify the correct device! I am deliberately using something wrong in the snippet below so you don't blindly copy paste your way to wiping your system. Find the correct device by running lsblk before and after you plug in the SD card. It should look something like mmcblk0 or sd[a|b|c|...]. Also note that you don't use a partition number with the dd command when you are flashing a bootable image.
$ xz -d ubuntu-22.04.2-preinstalled-server-arm64+raspi.img.xz
$ sudo dd if=ubuntu-22.04.2-preinstalled-server-arm64+raspi.img of=/dev/REPLACE_WITH_YOUR_DEVICE_ID bs=4M status=progress && sync
Once this completes, you have to configure your Pi for remote access. The easiest way to do this is by setting the hostname, and then plugging in your Pi via Ethernet. If you were also too lazy to go find an Ethernet cable like me, then you will also have to update your network-config file to automatically connect to your WiFi network on boot.
$ sudo mount /dev/sda1 /mnt
$ # Set the hostname:
$ sudo vim /mnt/user-data
... Search for "hostname" and modify the line as needed before exiting the editor
$ # Set your network-config:
$ sudo vim /mnt/network-config
... Modify as needed and quit.
$ # Finally tell cloud-init to reboot after applying your settings:
$ echo "power_state:\n" >> /mnt/user-data
$ echo "\tmode: reboot" >> /mnt/user-data
$ sudo umount /dev/sda1
For more details on the cloud-init and network-config modifications, check here for a good explanation. Either way, by now you should have a Pi you can simply SSH directly into with a set hostname!
Installing Docker
To ease the development process, and to make the service easy to maintain/update in the future, I'm going to be running everything through Docker. Setting up Docker is a pretty straightforward process. I've copied the commands here for ease of getting started.
$ sudo apt update && sudo apt upgrade -y && sudo reboot
$ curl -fsSL https://get.docker.com -o get-docker.sh && sudo sh ./get-docker.sh
$ # Now allow running docker commands as non-root user:
$ sudo groupadd docker  # This is likely already created
$ sudo usermod -aG docker $USER
$ newgrp docker
$ # Test it:
$ docker run hello-world
$ # Now configure Docker to start on boot with systemd
$ sudo systemctl enable docker.service
$ sudo systemctl enable containerd.service
Testing a docker-compose.yaml
The easiest way I have found to run multiple containers is to manage them through docker compose. I often test my setup with a simple docker-compose.yaml file once I think I have everything set up and ready to go. Here's the file I used to test this setup. If you are connected to your local network, you should then be able to type in the hostname of your device into your browser and see the whoami page.
version: "3.3"

services:

  traefik:
    image: "traefik:v2.9"
    container_name: "traefik"

    restart: "unless-stopped"

    command:
      #- "--log.level=DEBUG"
      #- "--api.insecure=true"
      - "--providers.docker=true"
      - "--providers.docker.exposedbydefault=false"
      - "--entrypoints.web.address=:80"
    ports:
      - "80:80"
      - "8080:8080"
    volumes:
      - "/var/run/docker.sock:/var/run/docker.sock:ro"

  whoami:
    image: "traefik/whoami"
    container_name: "simple-service"

    restart: "unless-stopped"

    labels:
      - "traefik.enable=true"
      - "traefik.http.routers.whoami.rule=Host(`piframe`)"
      - "traefik.http.routers.whoami.entrypoints=web"
V0.0.1
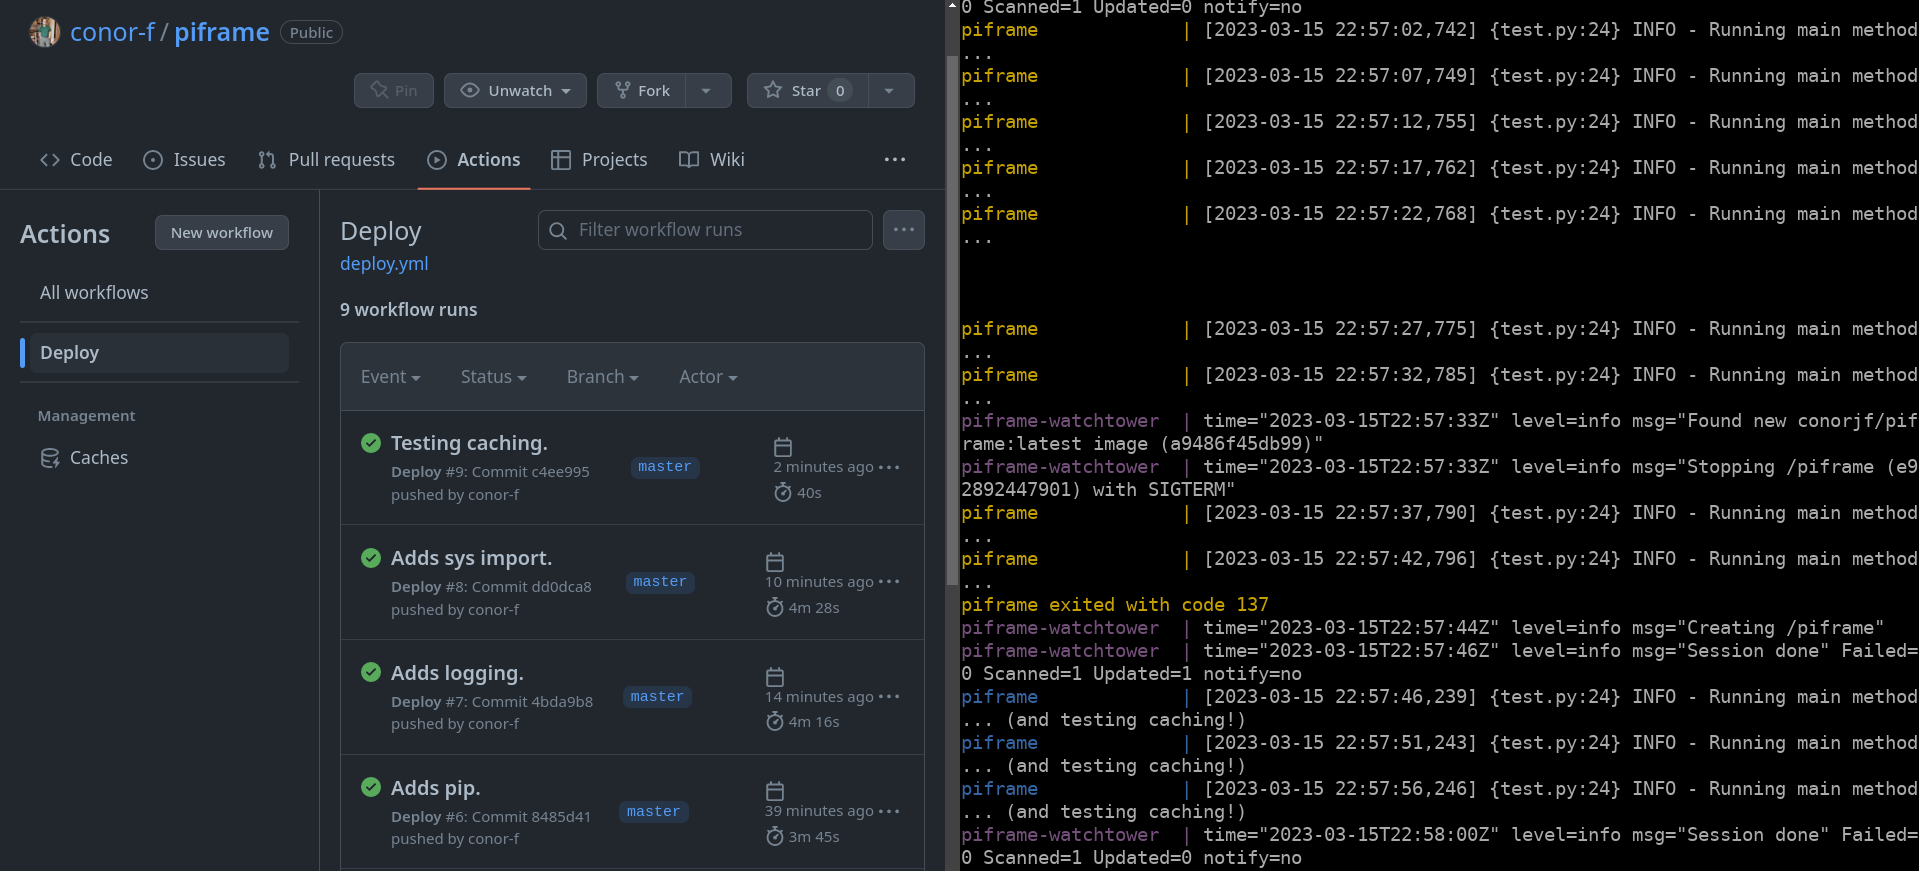
Now that all the prerequisites are set up, it's time to move onto V0.0.1 of the project. I always find it good to spend some time setting out clearly defined goals to get to a V1.0.0 and for me, V0.0.1 always involves setting up continuous deployment and making sure I can view log messages/errors clearly. This involved setting up Github Actions to automatically build a Docker image and push it to Docker Hub on a push to the main branch or when a tag is pushed of the format Vx.y.z. You can see how the code looked at this point over at the repo. At this point, I also set up Watchtower via a few lines in my docker-compose.yaml, which monitors my container for updates, and automatically pulls and restarts the container when it changes.
V0.0.2
This version was centred around getting anything to display on the LED matrix. I completed all of this outside of a Docker container in the interest of development speed, keeping in mind that everything I do outside of the container should be reproducible within one. Here is the Adafruit documentation on the specific hardware I was using which was essential for configuring the hardware (which I'm not going to cover unless requested!). During this, I found the authoritative resource on all things Raspberry Pi + LED Matrix related: hzeller's rpi-rgb-led-matrix repository. Then it was simply a matter of running the following to get a basic demo square running.
ubuntu@piframe:~/matrix_test$ git clone https://github.com/hzeller/rpi-rgb-led-matrix/
ubuntu@piframe:~/matrix_test/rpi-rgb-led-matrix$ make -C examples-api-use
V0.0.3
This step was to make the work I had done outside of Docker reproducible and working from my CD workflow. I additionally added some tools to the Docker image at this point to ease working with the container. e.g. installing vim and git. This may seem very pedantic and slow of an approach, but my goal when I am doing personal projects like this is to keep each step achievable, reproducible, and small. It allows me to easily leave a project and return to it days or weeks later and pick up where I left off. I find that breaking personal projects down into these achievable blocks makes finishing them much more likely. As usual, you can see the repo at this point here.
V0.0.4
As the ultimate goal is to display full images on the LED matrix, I sought out an example that did just that. At this point we can display an image on the screen only using a command line interface which is workable, but definitely something to try improve in the future. Regardless V0.0.4 was complete!
V0.0.5
This is where we integrate with Spotify. Plan of action is to make a loop that periodically checks if Spotify is online and if so, display the album artwork. If nothing is playing, clear the screen. As I had previously worked with the Spotify API before while making Spotibar, I decided to just pull that in as a dependency because I was already familiar with the setup of it.
As I had time, and was really annoyed at the command line interface for displaying an image, I decided to set up Python bindings as shown here. This made development much smoother. Here is the code as of that point. One thing of note is that I am continually SSHing into the Pi to test commands on the Docker container before putting them to the Dockerfile!
The Doldrums
At this point, I had begun to slack on setting clear targets as I thought I was so close to the finish line. However, this is where the Pareto principle struck. I had a very difficult time authorizing the Spotify API without having to take awkward steps. I tried a few different things (including switching to trying Last.fm instead of Spotify!) but ended up making a number of changes to spotibar to allow installation to just have to include one extra step as follows:
1) Add the docker-compose.yaml file to your Pi
2) Run docker compose pull
3) Run sudo docker compose run -it piframe spotibar --init
4) Follow the Spotibar instructions
4.1) For config filepath, put in /app/config/spotibar_config.json
4.2) For auth path, put in /app/config/spotibar_auth_cache
4.3) Ignore any errors. Just look for the line "Successfully authenticated."
Optional) sudo chmod -R 777 config/ to remove some errors from the logs
5) docker compose up -d
Finishing Touches
As the project was transitioning from PoC to MVP stage, I wanted to put some gloss on it. The main issue was that the image still flickered quite a lot. To address that, I changed the boot options to disable audio as explained in the hzeller repo's Troubleshooting section. However, there was a slight issue with the documentation where it used the wrong path, which I diligently created a PR to update the documentation to save people some time in the future. Alongside this, I supported the configuration of parameters of the LED Matrix through environment variables as suggested by the 12-factor app.
V1.0.0
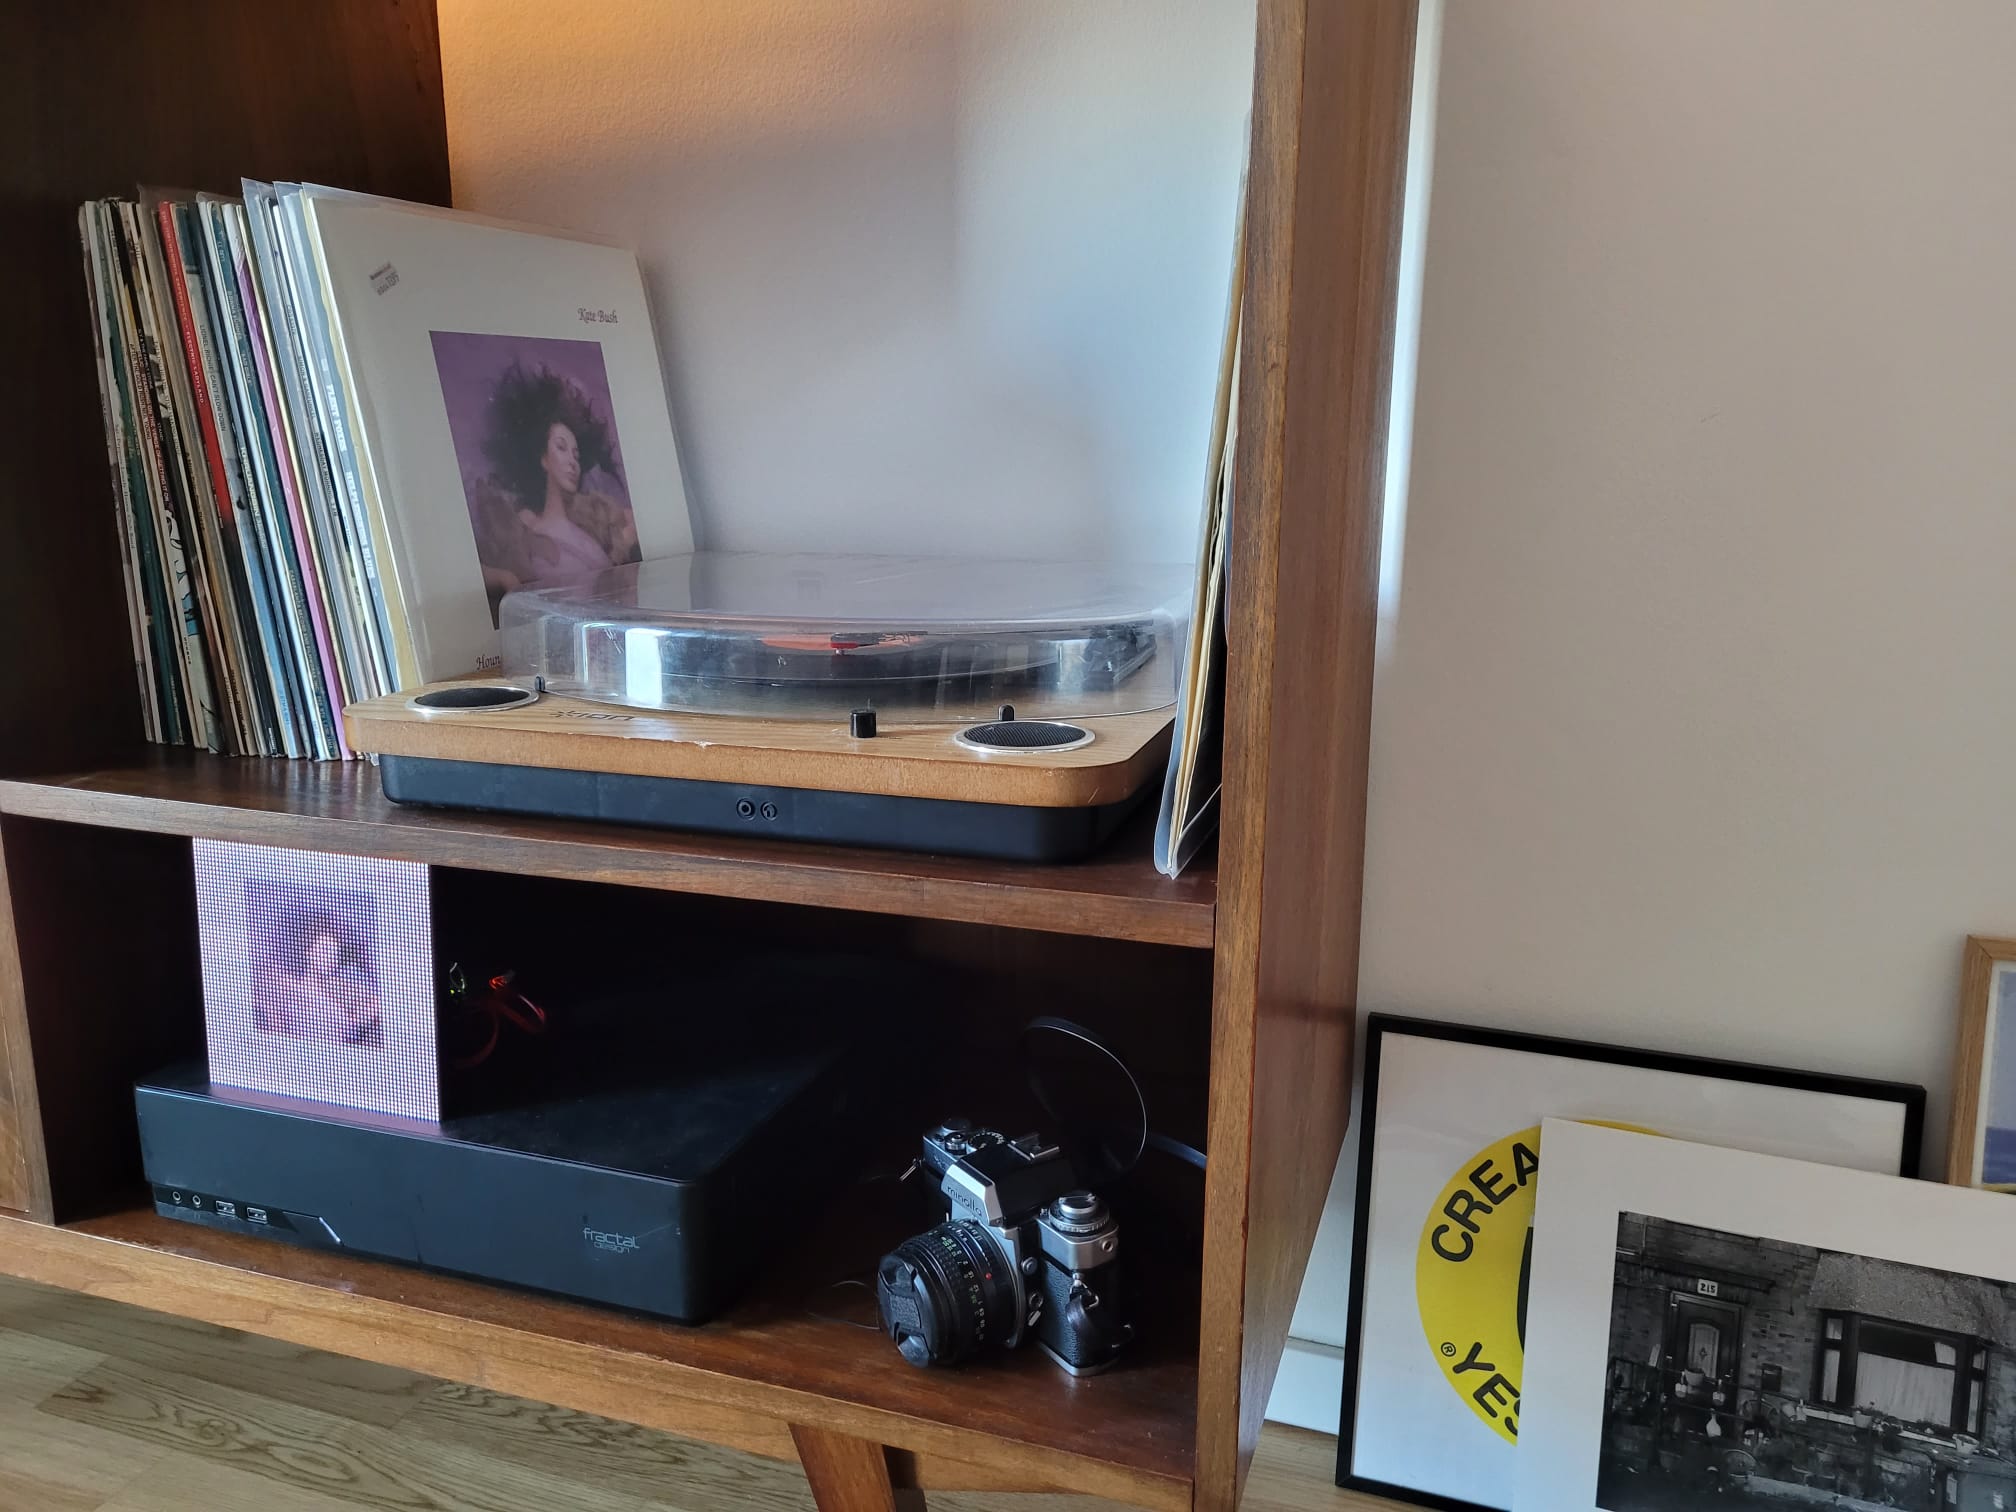
At this point, I was happy to cut V1.0.0. I had achieved all my initial goals, and now had something I could plug into my wall and leave running confident in its reliability. I tested everything from scratch, took some pictures, and called it a day!
Finishing Thoughts
- Continuous Deployment is not only for large projects or for your job. It makes your life far easier and allows you to jump in/out of a project at ease, knowing you won't forget some magic incantation if you stop working on it for a week. It's also quite easy to set up, and is almost templatable.
- I hit major issues when I stopped breaking down my work into small chunks. This could be a coincidence, but the quality of my output was significantly lower when I didn't set clear goals.
- The 80/20 rule hits hard.
Thank you for reading this, and if you have any feedback, you can reach me on Mastodon, by email (via anything at this hostname.tld), or any other way you can find me! Anything from content changes to advice on my writing style is appreciated!